


Introduction
Bathroom accessories might look small, but they play a huge role in comfort and functionality. One such item is how to install a toilet paper holder. At Fabbath Interiors, experts understand that selecting the right installation method is just as important as choosing the right product.
Why Proper Installation Matters
A poorly installed holder can fall, loosen over time, or damage your wall. Learning how to install a toilet paper holder properly ensures durability, hygiene, and convenience.
Common Installation Mistakes Homeowners Make
Many homeowners:
- Install holders on weak surfaces
- Ignore wall studs
- Use poor-quality adhesives
- Skip proper measurements
These mistakes can shorten the lifespan of your bathroom accessories significantly.
Types of Toilet Paper Holders Available Today
Wall-Mounted Holders – These are traditional holders attached using screws and brackets. They offer excellent stability and long-term durability.
Adhesive Toilet Paper Holders – Adhesive holders use strong industrial tapes or glue, eliminating the need for drilling.
Freestanding Alternatives – Freestanding holders require no installation but may occupy more floor space and lack stability
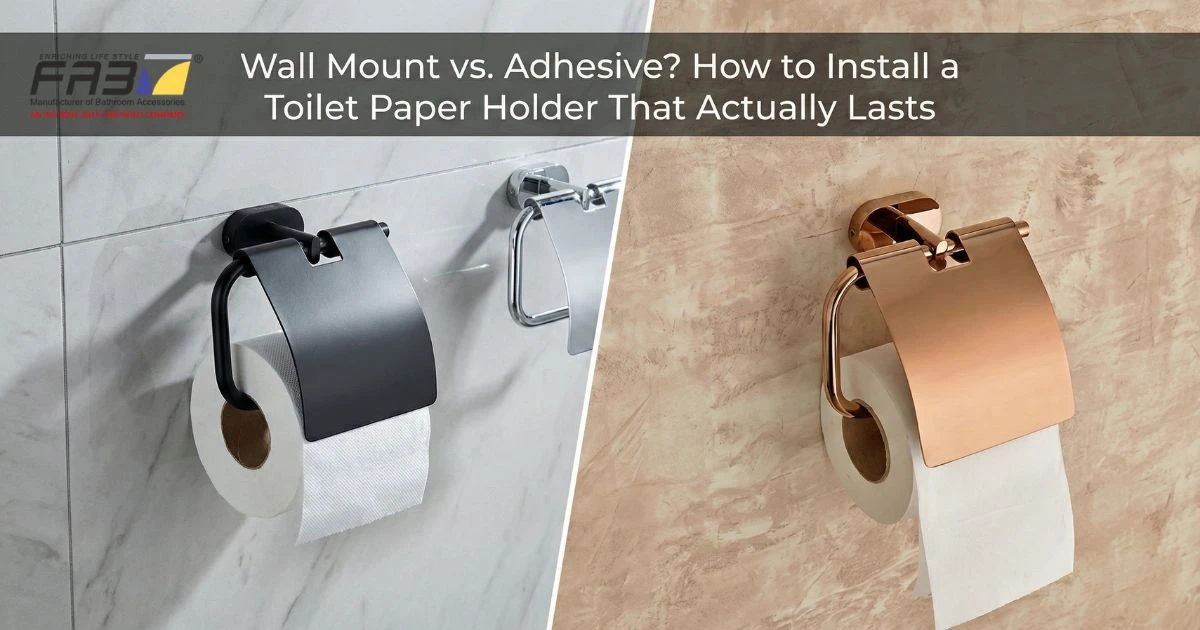
Wall Mount vs. Adhesive – Which One Is Better?
Choosing between these two methods is like choosing between stitching and glue for fixing clothes. Both work, but durability differs.
Durability Comparison
| Installation Type | Durability | Weight Capacity |
| Wall Mount | High | Strong |
| Adhesive | Medium | Moderate |
Wall mount holders installed using proper techniques of how to install a toilet paper holder can last 5-10 years or longer.
Cost Comparison – Adhesive holders are generally cheaper, but wall-mounted holders offer better long-term value.
Ease of Installation – Adhesive installation is easier. However, understanding this with screws provides better stability.
Long-Term Maintenance – Wall mount holders require less maintenance and rarely need reinstallation.
You May Also Like This – Types of Bathtubs: Which One Is Perfect for Your Bathroom?
Tools and Materials Needed Before Installation
Before learning this, gather:
- Drill machine
- Measuring tape
- Screwdriver
- Wall anchors
- Pencil for marking
- Level tool
Proper preparation improves installation accuracy and reduces damage risks.
How to Install a Toilet Paper Holder (Wall Mount Method)
Installing using wall mounting is considered the most reliable technique recommended by Fabbath Interiors experts.
Step-by-Step Installation Guide
- Choose the Right Location – Ideally, place it 8-12 inches from the toilet seat.
- Mark the Spot – Use a measuring tape and level tool.
- Drill Pilot Holes – This helps secure screws firmly.
- Insert Wall Anchors – Anchors strengthen the installation.
- Attach Mounting Bracket – Secure it tightly using screws.
- Fix Holder onto Bracket – Ensure it is aligned properly.
Following these steps ensures you understand how to install a toilet paper holder professionally.
How to Install a Toilet Paper Holder in Wall Safely
When installing on tiles or drywall:
- Use tile drill bits
- Avoid excessive pressure
- Check for hidden pipes or wires
Knowing how to install toilet paper holder in wall correctly prevents structural damage and ensures safety.
Expert Installation Tips
- Always install near wall studs when possible
- Use stainless steel screws for durability
- Double-check alignment before drilling
How Install Toilet Paper Holder Using Adhesive Method
Adhesive holders are gaining popularity due to quick installation.
Step-by-Step Adhesive Installation
- Clean wall surface thoroughly
- Dry the surface completely
- Remove adhesive backing
- Press holder firmly for 30 seconds
- Allow 24 hours before use
This simple method explains how install toilet paper holder using adhesives effectively.
Surface Preparation Guide
Adhesive holders work best on:
- Tiles
- Glass
- Marble
- Metal surfaces
Avoid textured or dusty surfaces while learning how to install toilet paper holder using adhesive.
Case Study: Fabbath Interiors Installation Success Stories
Fabbath Interiors has installed thousands of bathroom accessories across residential and commercial projects.
Real-Life Example – A hotel renovation project in 2025 switched from adhesive holders to wall-mounted holders installed using professional techniques of how to install toilet paper holder. The result:
- 70% reduction in maintenance costs
- Increased customer satisfaction
- Improved durability
This case reflects Fabbath Interiors’ expertise and reliability.
Latest Trends in Bathroom Accessories Installation (2026 Update)
According to the National Kitchen & Bath Association (NKBA), over 65% of modern bathrooms now use concealed wall mounting systems.
Trending Features
- Rust-proof stainless steel holders
- Concealed screw designs
- Eco-friendly adhesive technology
These trends influence how professionals approach in modern homes.
Common Problems and Troubleshooting Tips
Loose Holder
Cause: Weak anchors or adhesive failure
Solution: Reinstall using stronger hardware or professional guidance.
Wall Damage
Cause: Incorrect drilling method while learning how to install toilet paper holder in wall
Solution: Use filler or consult professionals.
Safety Guidelines and Industry Standards
According to Consumer Product Safety Commission guidelines:
- Use certified hardware
- Avoid installing near electrical wiring
- Ensure child-safe positioning
Following safety protocols ensures successful procedures.
Professional vs DIY Installation – Which Should You Choose?
DIY Installation
Pros:
- Cost-effective
- Quick solution
Cons: Risk of incorrect installation
Professional Installation
Companies like Fabbath Interiors provide expert guidance, ensuring proper alignment and durability when learning how to install toilet paper holder professionally.
Maintenance Tips to Make Your Holder Last Longer
To maintain installation quality:
- Clean holders weekly
- Tighten screws periodically
- Avoid excessive weight
- Replace adhesive every 2-3 years
Maintenance ensures your knowledge of this delivers long-lasting results.
Why Choose Fabbath Interiors for Bathroom Accessories
Fabbath Interiors is a trusted brand known for:
- Premium bathroom accessories
- Expert installation support
- High-quality materials
- Modern design solutions
Their specialists also educate customers on how to install toilet paper holder in wall safely and effectively.
Conclusion
Choosing between adhesive and wall-mounted toilet paper holders depends on your bathroom structure, usage frequency, and durability expectations. Adhesive holders provide quick and easy installation, but wall-mounted holders offer unmatched strength and long-term reliability. Understanding this using professional methods ensures safety, convenience, and aesthetic appeal.
With expert guidance and premium products, Fabbath Interiors helps homeowners achieve durable and stylish bathroom solutions. Whether you prefer DIY installation or professional service, selecting the right installation method guarantees long-lasting performance.
FAQs
1. Which method lasts longer: adhesive or wall mount?
Ans. Wall mount installation usually lasts longer due to stronger hardware support.
2. Can beginners learn this easily?
Ans. Yes, beginners can follow step-by-step guides and safety precautions for successful installation.
3. How long should adhesive holders cure before use?
Ans. Most adhesives require 24 hours to achieve maximum bonding strength.
4. Is it safe to install holders on tiled walls?
Ans. Yes, but ensure you use tile drill bits when learning how to install toilet paper holder in wall.
5. When should I call professionals like Fabbath Interiors?
Ans. If you are unsure about drilling, wall material, or alignment, professional installation is recommended.